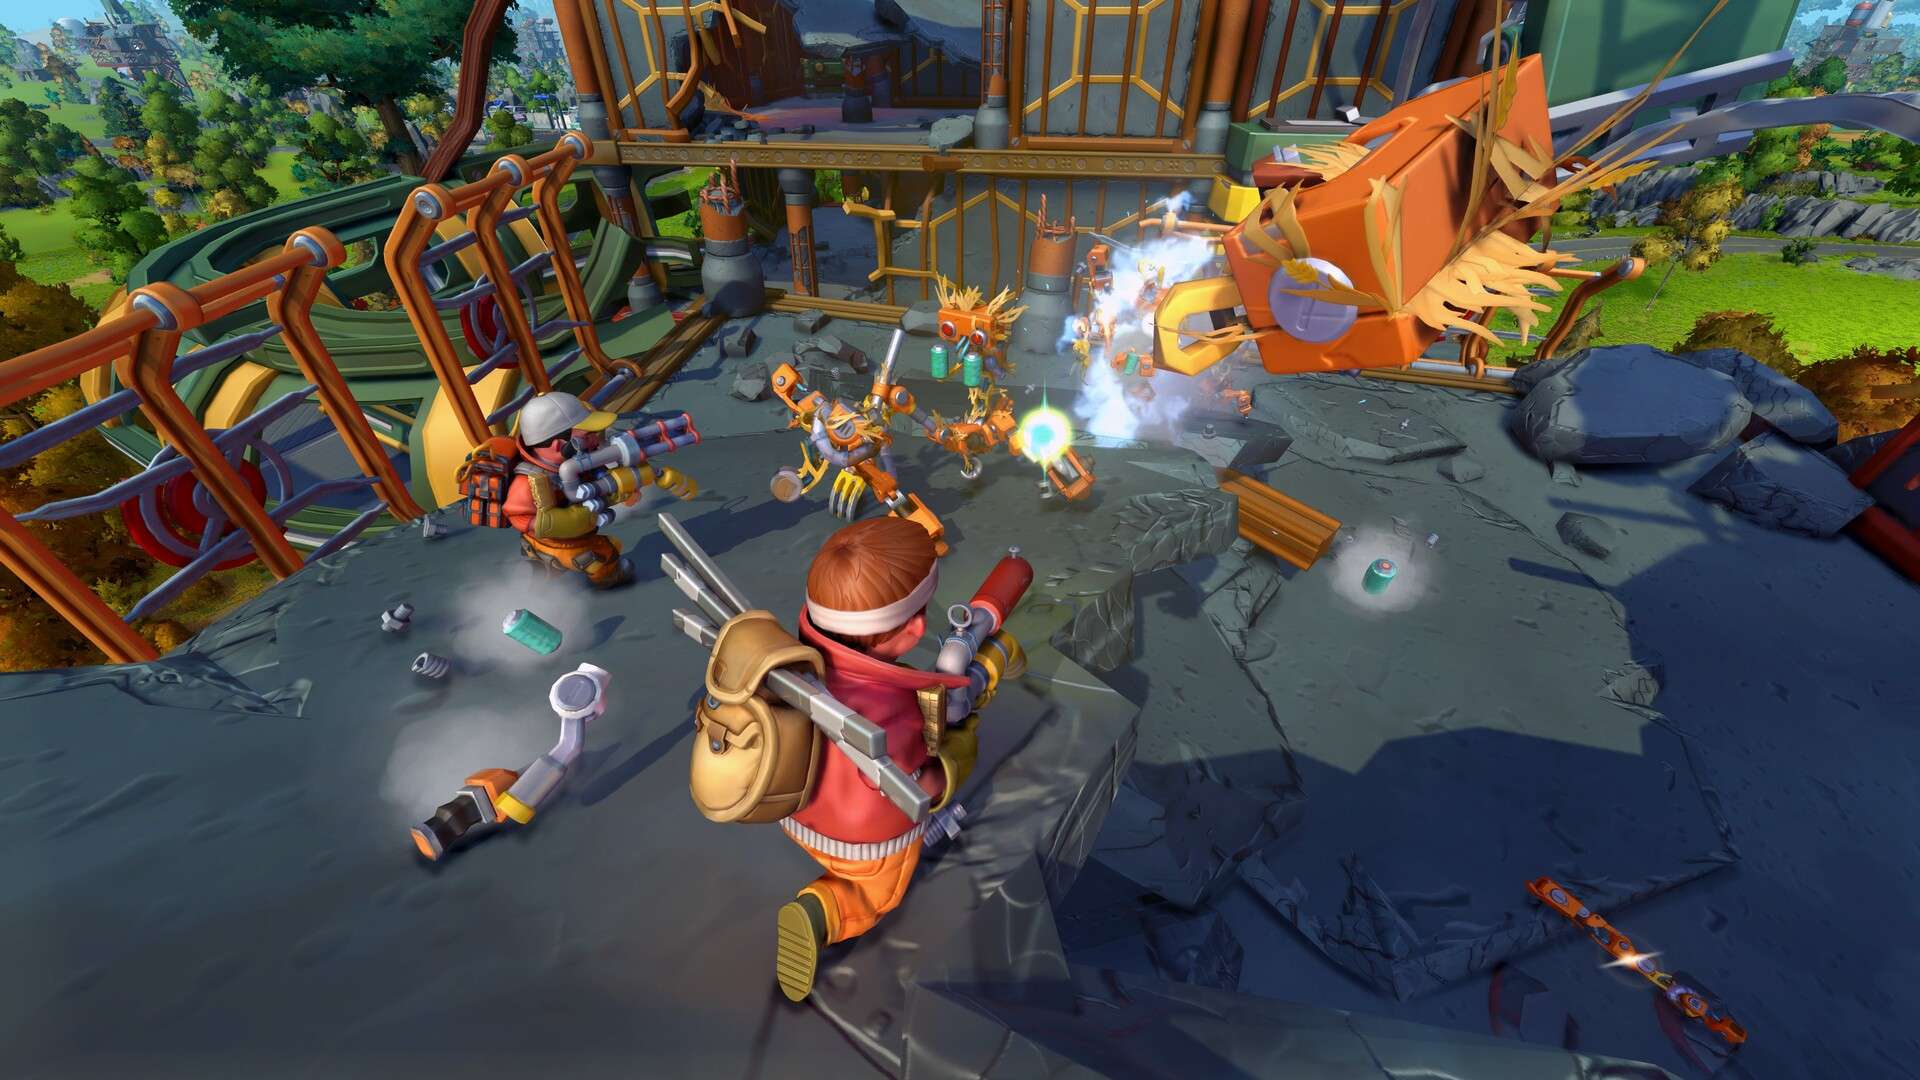
Mechanics exploring an industrial area in Scrap Mechanic
World navigation / interactive viewer

Scrap Mechanic Map - Plan Your Surface Route

Browse the reference world to learn the map tools, or open a supported Survival save to see your own surface layout. Search landmarks, mark useful stops, and plan a return route before setting out.

Version reference 1.0.5 · map data has its own review dateVersion notesEditorial policy
Reference world or saved-world snapshot

Explore the Interactive Survival Map

The reference world is a starting example; its coordinates are not directions for every save. Select your own supported .db file when the roads and landmarks need to match your world. Files are read in your browser, without being uploaded.

Your save stays in your browser

After saving new progress in the game, select the updated file to refresh the map.

WORLD_VIEWERNative browser map · local processing
WORLD VIEWER / INITIALIZINGPreparing the interactive surface mapLoading verified terrain, locations, and browser tools…
Map modes
2 available
Save support
Survival v28
Player markers
5 marker types
Navigation
X / Y / Zoom
Map workflow

View a Map from Your Survival Save

Select a supported local Survival .db save to generate a map view of your world, find landmarks, and plan routes. Your save is processed only in your browser. This tool does not create a new game world or regenerate terrain from a seed.

  1. 01Choose a map mode

    Use the verified reference surface for general planning or select a supported local save when the route must match your generated world.

  2. 02Search and filter

    Use Location Browser search, then narrow the generated index by quests, camps, major sites, resources, roads, or warehouses.

  3. 03Build the layer stack

    Toggle Terrain, Location Names, Coordinate Grid, Player Markers, and marker names according to the current task.

  4. 04Mark the route

    Add Resource, Danger, Base, Vehicle, or Note markers, then use the X/Y readout and Reset View control to stay oriented.

Viewer capability index

Explore Five Map Capabilities

Reference and personal modes use the same surface tools while player content, verified progress, and local markers remain independent layers. Choose the mode that matches the route you need to plan.

01Always available
Reference Map

Verified 128 × 96 surface

Open a complete planning surface without selecting a local save.
02Local v28 save
Personal Map

Actual generated terrain

Replace the reference terrain with the layout decoded from your supported save.

03Independent layer
Player Content

Builds · Vehicles

Show supported player creations without changing the verified terrain artwork.

04Verified records
Save Progress

Quests · Labs · Logs · Scannerbot

Read supported progress records without inventing an overall completion percentage.

055 marker types
Local Markers

Resource · Danger · Base · Vehicle · Note

Keep private route notes in this browser, isolated by map scope.

Location directory

Plan by purpose, risk, and route

The viewer derives searchable records from the active surface and its verified marker data. This curated field directory turns useful surface, story, generated, and hazard entries into preparation notes for your route.

01
Surface World

Start with the connected road route

Start in the map's Surface World view, then use Location Names and the location browser to connect the Mechanic Station, road network, production stops, and your chosen base route.

LandmarkLow danger

Crashed Maintenance Ship

Also known as: Crash Site, Crashed Ship

The opening Survival landmark contains the crashed ship, the three-fire Getting Started objective, the nearby Water Bucket pond, the first Master Battery ruin, the Mini Craftbot, and the Logbook route to the Mechanic Station.

How to recognize and route

From the ship entrance, follow the path in the opposite direction to reach the pond and farming tutorial. After extinguishing the marked ship fires, follow the active objective and crash-debris trail to the nearby Master Battery ruin.

Before you go
  • Fill the Water Bucket and extinguish all 3 marked fires inside the ship.
  • Recover the nearby Master Battery and install it in the crashed ship, not the Mechanic Station.
  • Craft the Connect Tool, finish the console objective, and open the Logbook.
  • Leave only after the Mechanic Station waypoint appears; farming and Your First Car can then be handled as separate branches.
Complete the Crash Site route
LandmarkLow danger

Mechanic Station

A recognizable station marked by a large illuminated wrench, commonly used as an early workshop, storage point, and vehicle base.

How to recognize and route

Follow connected roads and watch the skyline for the wrench sign. Record the junction used to reach it, not only the final building.

Before you go
  • Bring the key progression item requested by the station objective.
  • Clear nearby threats before moving storage into the building.
  • Keep the first vehicle simple enough to repair on site.
Prepare the station objective
Generated location typeModerate danger

Packing Station

Also known as: Vegetable Packing Station, Fruit Packing Station

A road-side destination used in produce logistics. Its value comes from turning farming into a transport problem rather than a chest-management problem.

How to recognize and route

Treat the road between the farm and station as a freight route. Test bridge clearance, slopes, and turning space before hauling a full load.

Before you go
  • Use a low cargo deck with secure load boundaries.
  • Carry fuel and a recovery Lift.
  • Clear roadside bots before driving a slow, heavy load.
Plan produce transport
LandmarkModerate danger

Farmers Hideout

Also known as: Farmers' Hideout, Trader

A progression and trading location where prepared deliveries become useful equipment. The route matters as much as the destination because cargo can be bulky.

How to recognize and route

Use the road network around a Packing Station and watch for the hideout's large industrial silhouette and smokestack.

Before you go
  • Confirm the delivery you are pursuing before loading the vehicle.
  • Leave room to carry the reward home safely.
  • Avoid mixing important cargo with loose exploration loot.
Open the packing and trading route
02
Story, labs, and bosses

Prepare before following story markers

Use surface story markers and the personal-map progress panel to connect Grow Labs, quest state, Scannerbot activity, and other verified save records with the route you can travel.

Generated location typeHigh danger

Warehouse

A large multi-level combat and exploration landmark associated with ranged bot threats, valuable materials, and difficult recovery runs.

How to recognize and route

Park outside the immediate approach, mark the entrance used, and keep the return vehicle facing away from the structure.

Before you go
  • Bring a ranged weapon with a deliberate ammunition reserve.
  • Carry food, light, and only the tools needed for the run.
  • Deposit unrelated valuables before entering.
  • Clear rooms methodically instead of chasing enemies across floors.
Follow the Warehouse combat route
Generated location typeHigh danger

Growlabs

Also known as: Grow Labs, Growlab

Growlabs are part of the expanded 1.0 Survival world and story. They combine exploration, combat, and progression in spaces where preparation matters.

How to recognize and route

Follow the active objective and build a reversible route from the nearest safe storage point. Exact placement varies with the generated world.

Before you go
  • Read the objective before crossing the final approach.
  • Bring ranged protection, food, light, and spare ammunition.
  • Test the route with low-value inventory first.
  • Back out and resupply instead of turning the run into an unrecoverable loss.
Prepare for a Growlab
RegionVariable danger

Excavation Island

Also known as: Miner Island, Mining Island

A new 1.0 region built around abandoned mines, underground digging, rare discoveries, and machine-led excavation.

How to recognize and route

Plan the trip as a separate expedition. Keep a surface staging point and make underground turns readable with sparse, consistent markers.

Before you go
  • Separate mining equipment from the road vehicle when possible.
  • Carry lighting, food, and storage capacity.
  • Leave a clear return corridor for a loaded mining machine.
  • Expect terrain shaping and drilling to change the route behind you.
Follow the underground mining loop
LandmarkHigh danger

Mining Hub

Also known as: Underground Mining Hub

The Mining Hub is a later Survival progression facility connected to underground extraction, processing stations, the Vault, and the Drilling Thunder story route.

How to recognize and route

Follow the active mining objective and establish a surface staging point before committing a loaded excavation vehicle to the underground route.

Before you go
  • Carry lighting, food, ammunition, and repair materials.
  • Keep the return tunnel wide enough for a loaded mining vehicle.
  • Store important discoveries before advancing to the next objective.
  • Confirm which processing station the current quest requires.
Open the Mining Hub quest
LandmarkLow danger

Scrap City Garage

Also known as: Garage, Scrap Garage

A 1.0 Garage destination used to bring supported Creative and Survival creations into an active Survival world.

How to recognize and route

Locate Scrap City through story and road progression, then treat the Garage as a transfer stop rather than a combat objective.

Before you go
  • Start with a small unmodded blueprint before loading a complex Workshop creation.
  • Use the 30-slot Garage Chest and sort supplies by the exact material bill.
  • Remove unavailable or version-specific parts before the first Survival assembly.
Open the Garage blueprint guide
03
Generated locations

Use small landmarks to build a reliable route

Use the Generated Locations tree to narrow hundreds of map entries into camps and ruins, quest locations, major sites, resources, road locations, or warehouses before plotting a trip.

Generated location typeVariable danger

Ruins and Ruin City

Also known as: Ruins, Ruin City

Ruins range from small roadside loot stops to dense areas with multiple approach angles and stronger threats.

How to recognize and route

Use the road-facing side as the return reference and clear a small perimeter before entering tight spaces.

Before you go
  • Keep one empty inventory row for recovered materials.
  • Listen for bots before climbing into blind corners.
  • Return loot to the vehicle before pushing into the next structure.
Use the exploration loop
Generated location typeModerate danger

Chemical Lake

Also known as: Chemical Pond, Chemical Lakes

A hazardous-looking resource landmark that is useful to identify when planning chemical collection and nearby travel routes.

How to recognize and route

Mark the safe road approach rather than driving directly toward the shoreline with a heavy vehicle.

Before you go
  • Bring the container or collection build needed for the trip.
  • Keep important vehicle controls away from exposed edges.
  • Plan how the collected material will be stored at base.
Read the Chemicals entry
LandmarkHigh danger

Silo District

A large industrial area that can expose vehicles and players to dangerous bot encounters across open approaches.

How to recognize and route

Scout the outer road first, choose a retreat line, and avoid parking valuable transport in the center of the approach.

Before you go
  • Use a disposable scout vehicle or travel light.
  • Keep a ranged escape option.
  • Do not let the only storage vehicle become the combat cover.
Prepare for Farmbots
Generated location typeVariable danger

Farmer Shacks and Camps

Also known as: Farmer Shacks, Campsites

Small structures and camps are useful resupply stops, route markers, and sources of ordinary building material during exploration.

How to recognize and route

Use them as named stops between major landmarks. One clear marker at a nearby road junction is more useful than marking every shack.

Before you go
  • Check the perimeter before looting indoors.
  • Take only what supports the current objective.
  • Leave enough vehicle capacity for higher-value discoveries.
Plan efficient loot runs
Generated location typeHigh danger

Farmbot Scrapyard

A location where the environment itself warns that heavy hostile machinery may be nearby.

How to recognize and route

Approach from open ground with a clear exit. Dense cover can hide large enemies and trap a wide vehicle.

Before you go
  • Leave fragile transport outside the threat area.
  • Carry enough ammunition to disengage safely.
  • Avoid fighting with valuable cargo already loaded.
Review the Farmbot strategy
04
Layers and hazards

Terrain and weather can change the safest route

Combine Terrain, Coordinate Grid, Resource & Hazard locations, and player markers. Use the Danger marker type for risky approaches and keep Base or Vehicle markers on safe recovery points.

RegionVariable danger

Desert Biome

A reworked 1.0 biome with open sightlines, different travel demands, and weather hazards that can interrupt vehicle routes.

How to recognize and route

Favor visible roads and landmark bearings over cutting across unmarked flats. Note fuel needs before a long desert crossing.

Before you go
  • Carry extra fuel and food for long reverse trips.
  • Watch for tornado warnings and give storms a wide berth.
  • Do not test fragile suspension builds as the only desert scout.
Read tornado hazard guidance
Dynamic hazardHigh danger

Tornado Weather Hazard

Also known as: Tornado

1.0 weather events that can appear in desert and open areas. Official notes suggest avoiding them; community builds often try to drive through anyway.

How to recognize and route

If a tornado forms on your route, divert early using a road junction rather than racing the funnel with a loaded cargo truck.

Before you go
  • Keep valuable cargo off experimental storm-chasing vehicles.
  • Have a reverse landmark ready if visibility collapses.
  • Prefer postponing a packing delivery over losing the whole haul.
Review desert travel tips
Route planning method

Make a generated world easier to navigate

01

Start from a known landmark

Select Surface World, search the Location Browser, and use the Mechanic Station or another visible reference as the route origin.

02

Record decision points

Enable Coordinate Grid and Player Marker Names, then place Note markers at road forks or layer transitions instead of marking every straight segment.

03

Match the vehicle to the trip

Use Vehicle and Resource markers to compare terrain, road width, storage stops, and the return route before choosing a build.

04

Protect the return journey

Place Base and Danger markers on the safe exit and risky approach, then reset the view and verify both ends of the route before departure.

Map FAQ

Generated-world navigation questions

These answers separate reusable location knowledge from details that belong only to one generated save or personal-map state.

How do I open the Scrap Mechanic map?

Use the Open interactive map button near the top of this page or scroll to the native viewer. The map runs directly on this page; pan, zoom, search, choose layers, or select a local Survival save for a personal surface map.

Does every Scrap Mechanic Survival world use the same map?

No. Reference mode provides a complete planning surface, while Personal Map mode reads the actual terrain grid from a supported local Survival save so generated roads, ruins, resources, and route relationships match that save.

Can I use coordinates from another player's world?

The viewer displays an X and Y readout and can overlay a Coordinate Grid, but generated layouts differ. Load your own supported save when a coordinate must match your world before committing cargo or rare equipment.

What happened to the Scrap Mechanic Chapter 2 map?

The content many players previously called Chapter 2 was released as Scrap Mechanic 1.0 and Drilling Thunder. This viewer focuses on the Survival surface and its generated layout rather than presenting older chapter labels as separate maps.

Is this a Scrap Mechanic seed map generator or save editor?

No. It can parse a supported Survival v28 .db file locally in your browser, but it does not upload the file, regenerate the world from only its seed, edit the save, change terrain, or install a mod.

Why is new progress missing from my personal map?

The map shows the save file you selected, not a live connection to the game. Save your progress in Scrap Mechanic, then select the updated supported .db file again. The viewer does not monitor changes to files on your computer.

Are tornadoes fixed map locations?

No. Treat tornadoes as dynamic weather hazards rather than permanent landmarks. If one blocks a route, divert early or postpone a loaded delivery instead of relying on a fixed marker.

Does the viewer include underground and interior maps?

No. The current viewer renders the Survival surface. A personal save can show verified underground-depth and Grow Lab records in its progress panel, but it does not render separate underground, interior, or boss-area floor plans.